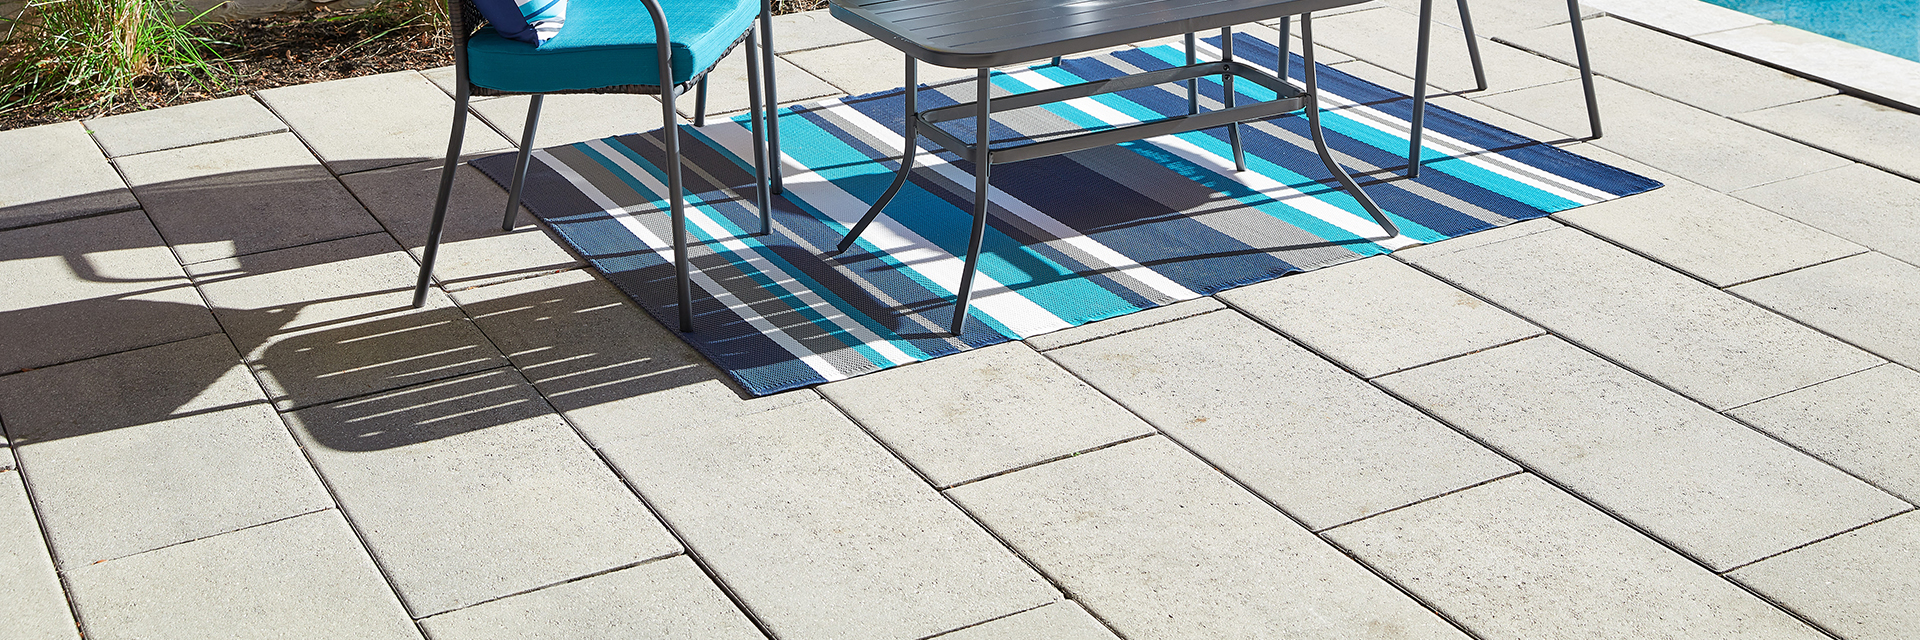
Patio Stones & Pavers
Planning a walkway or patio with pavers? Good idea. Pavers are versatile, long-lasting and can be customized to your own design.
1. Starting Point
A good plan is essential. Lay out the general area with a garden hose to get a basic sense of space. Calculate the square footage so you can determine how many pavers you will need. Because pavers are difficult to cut, it can be helpful to slightly adjust the size to accommodate full-sized pavers. You’ll also need to ensure that it slopes away from your house.
2. Installation Area
You will need to clear the planned area for your pavers. To plan how high your pavers will be, start at the base of your house and work outward. There should be a drop-off of 1” every 8’ for drainage. Make sure you have determined how deep your base will need to be. Typically 4-6” of base material, like gravel. You also need to allow for 1-1.5” for sand, plus the thickness of your paver. The depth of base material, the sand and your pavers will determine how deep you need to dig. Be sure to excavate beyond the borders to give you room to support your edge restraints.
3. Laying Base Material & Edging
Once base material has been added, use your landscape rake to smooth out the area. Use a tamping tool to tamp down the base, making sure it is firm and sturdy. Using a compactor can achieve great result in less time. Add in the edge restraint of your choice to the base material.
4. Lay Down a Layer of Sand
The sand is what holds your pavers in place. Lay about 1 inch of the coarse (not fine) bedding sand. Be sure to keep the height even across the area, as this is the last layer; its height will determine the final height of the patio. You can use a 2x4 board to smooth and level the sand, keeping a level close by to double check.
5. Installing Pavers
Staring in a corner, begin laying the pavers and work your way out. Keep the paver joints tight. Occasionally tamp the pavers by gently tapping them with a rubber mallot. Periodically check to make sure the pavers are flat using a string or a level to check each row for straightness. Use a level to make sure the correct slope and level is being maintained. Once the pavers are all placed, use a compactor to tamp the pavers into the sand.
6. Sweep Sand into Joints
Fill the joints between your pavers with coarse sand. Simply pour it on to the pavers and sweep it into the cracks until they are completely filled. This sand will lock your pavers in place. Sweep away any excess sand and then sit back and enjoy your new patio.